How to Install a Vinyl Decal
Step 1. Prep Decal

Lay decal on a flat surface face up and run a squeegee or a credit card over the top of the app tape to ensure that all parts of the decal are adhered to the sticky side of the app tape.
Step 2 . Clean Surface

Clean the surface that the decal will be applied to using rubbing alcohol or soap and water. Make sure to let dry.
Step 3. Position Decal
Decal

Position the decal on the surface it will be applied to and use masking tape along the top of the decal to hold it in place.
Step 4 . Peel Backing Paper

Use the tape as a hinge to flip the decal up so that the backing paper is facing you. Then slowly peel the backing paper off, making sure that the decal stays adhered to the app tape.
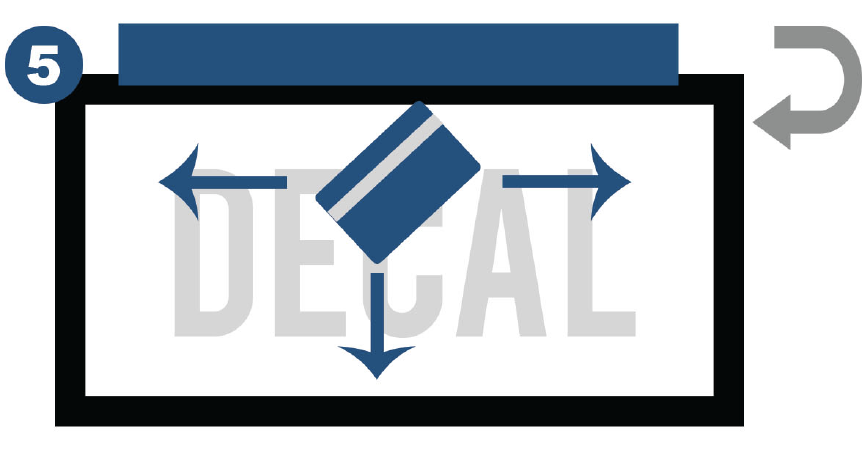
Step 5 . Apply to Surface

Slowly lay the decal back down, with tape hinge still in place. Run a squeegee or a credit card over the top of the app tape starting in the middle and working your way out from all angles. This will help get the air out of the decal.
Step 6 . Remove App Tape

Begin to peel the app tape away from the decal. Start from one end and peel away from the surface at 180 degrees (peel the app tape back over itself). Done! Step back and take a look at your awesome work.
